Custom outfit design guide
Tomodachi Life Custom Clothes: 12 Design Ideas
Use this Tomodachi Life custom clothes guide for a clear design workflow, 12 outfit prompts, and the limits of what Nintendo's official editor image confirms.
Updated September 25, 2026
For a custom outfit that reads clearly, start with one bold garment idea, limit the palette to three colors, and test the motif at the size shown on your Mii. Nintendo's official product gallery includes a clothing-design screen, but the public product page does not document every unlock, import, sharing, or total-item rule.
That distinction matters: the screenshots on this page are official game images, while the 12 combinations below are fan-made prompts, not downloadable patterns or an official catalog. Use them to plan what to draw, then follow the controls shown by your own game version.
Quick answer
The most reliable approach to Tomodachi Life custom clothes is to sketch one readable silhouette, choose a small high-contrast palette, place one main motif, and preview the result on a Mii before you finish. Nintendo's gallery confirms that an in-game clothing editor exists; it does not, by itself, confirm item counts, unlock conditions, QR import, or sharing rules.
What Nintendo's official clothing screen confirms
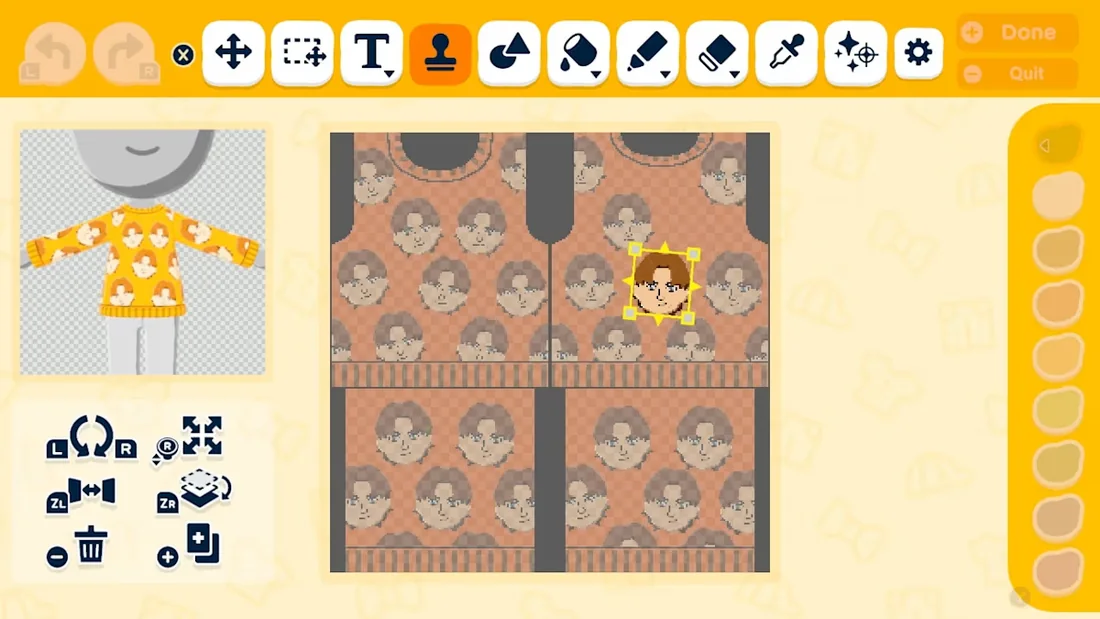
Nintendo's official product gallery shows a garment-design workspace with a clothing preview, a repeated pattern area, drawing controls, and visible Undo, Quit, and Done actions. These are observations from the image itself. They support a practical design discussion, but they are not a step-by-step manual or a promise that every regional release uses identical labels.
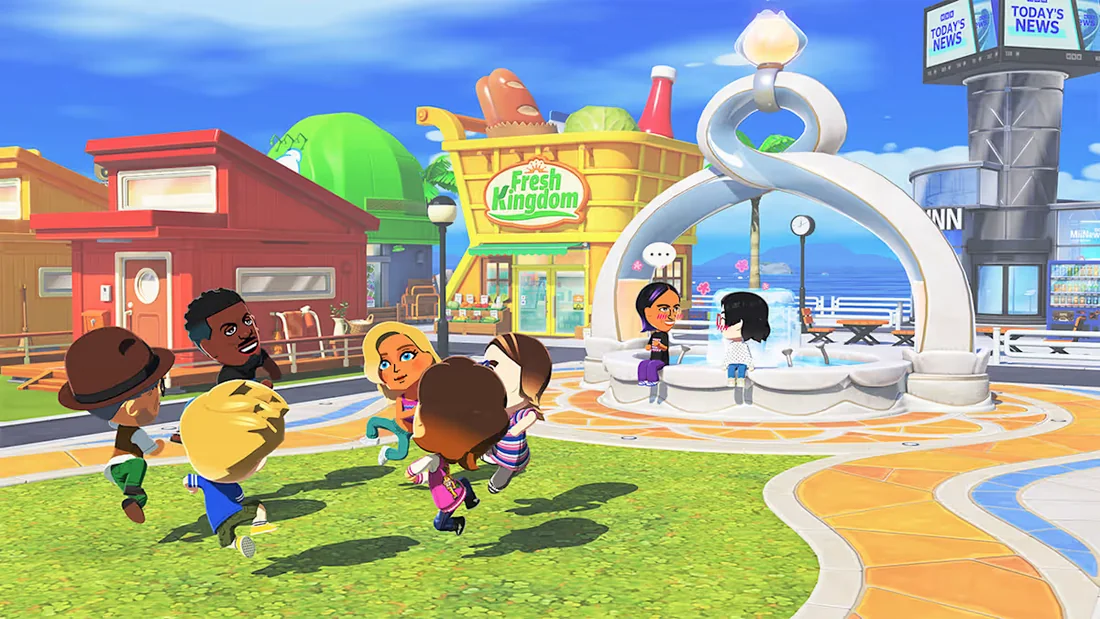
The same gallery includes Miis wearing different outfits. That is useful for judging scale and contrast: a tiny motif can disappear on a full character, while a broad color block remains recognizable. The screenshots do not establish how the editor is unlocked, which garments are available, or whether designs can be exported. Check the prompts in your current game for those details.
How to design custom clothes in Tomodachi Life
Treat each design as a small illustration rather than a miniature poster. Decide what a player should notice first, then remove marks that compete with it. A clear icon, stripe, badge, or border usually survives a small preview better than a sentence or a cluster of tiny symbols.
The workflow below is an editorial method for using the visible canvas. It does not assume a specific unlock order or button sequence. If your software version labels a control differently, follow the in-game prompt and keep the design principles separate from the interface instructions.
1. Choose one garment idea
Write a one-line concept such as 'a rainy-day sailor shirt' or 'a midnight cat hoodie'. Pick the garment shape and the character who will wear it before drawing details. A concept limits scope: you can judge every stripe, color, and badge by asking whether it supports that one idea. If a detail needs a long explanation, simplify it until its role is obvious at a glance.
2. Build a three-color palette
Choose a base, an outline or shadow, and one accent. For example, navy, white, and coral give a sailor theme enough contrast without filling every available area. Keep neighboring colors different in brightness as well as hue; two similar blues can merge on a small Mii preview. Add a fourth color only when it carries a clear job, such as a face or emblem.
3. Place the focal motif
Draw the largest recognizable shape first, then balance it with a border or two small marks. A center badge works for a formal jacket; a repeated stripe works better for a sporty shirt. Leave visual breathing room around the focal area. The official editor image shows a repeated pattern layout, but it does not tell us that every garment wraps or tiles in the same way, so preview rather than assuming how the canvas maps.
4. Preview, revise, and finish
Look at the garment at the size it will appear on the Mii, not only at the enlarged canvas. If the concept is unclear, remove one detail before adding another. Check the neckline, sleeve edges, and the most visible front area, then use the on-screen completion control only after the preview looks balanced. The visible Done button is evidence that a completion action exists, not proof of a particular save or sharing system.
12 custom clothes ideas to adapt
These are starting points for original fan designs, not names of in-game items. Swap the palette or symbol to fit your Mii. Keeping the motif count low makes each concept easier to reproduce on a compact canvas and easier to recognize when several residents appear together.
If the game offers a different garment shape from the example, preserve the visual idea rather than forcing the same placement. A border can become a sleeve detail; a chest badge can move to the center panel. The goal is a coherent outfit, not a one-to-one template.
| Design prompt | Palette | Main motif | Placement idea |
|---|---|---|---|
| Sailor postcard | Navy / white / coral | Small anchor | Wide collar band |
| Moonlit cat | Ink / silver / mint | Crescent and cat eyes | One centered badge |
| Garden apron | Leaf / cream / berry | Two simple leaves | Pocket-sized lower panel |
| Retro arcade | Black / lime / pink | Three pixel blocks | Single chest emblem |
| Cloud pajamas | Sky / white / lilac | Cloud and dot pair | Loose repeating pattern |
| Mountain hiker | Pine / stone / orange | Peak outline | Vertical front stripe |
| Tea-house uniform | Forest / cream / red | One tea-leaf mark | Small upper-left badge |
| Festival lantern | Red / gold / charcoal | Lantern silhouette | Centered, with open space |
| Ocean diver | Teal / navy / yellow | Round window | Two large shoulder marks |
| Bookshop cardigan | Plum / tan / cream | Open-book icon | One quiet chest patch |
| Robot repair coat | Steel / orange / white | Two square bolts | Symmetric pocket marks |
| Stargazer sweater | Midnight / blue / gold | Three large stars | Loose diagonal repeat |
Make a small clothing pattern readable
A design that looks polished when zoomed in can become noise at character scale. Before adding texture, reduce the canvas view or inspect the Mii preview. If you cannot name the motif immediately, increase its size, simplify its outline, or give it more contrast against the garment base.
Repeated marks need rhythm. Keep their spacing consistent, align them with the garment's direction, and avoid placing a high-detail motif where a fold or edge hides it. The screenshot shows a repeated shirt layout, but it does not prove how every template repeats; treat the preview as the authority for your current item.
Use contrast before texture
A clear light-dark difference carries farther than several similar shades. Make the main icon readable in a two-color test first; then add a third color for personality. If the garment already has a strong base color, keep the outline simple so the design does not look crowded.
Leave quiet zones
Do not fill every square just because the canvas allows it. Blank space separates the badge from stripes and makes the garment feel intentional. On a sleeve or collar, one repeated accent can be enough. A calm area also helps you notice whether the main motif sits too high or too low.
Check the outfit on its wearer
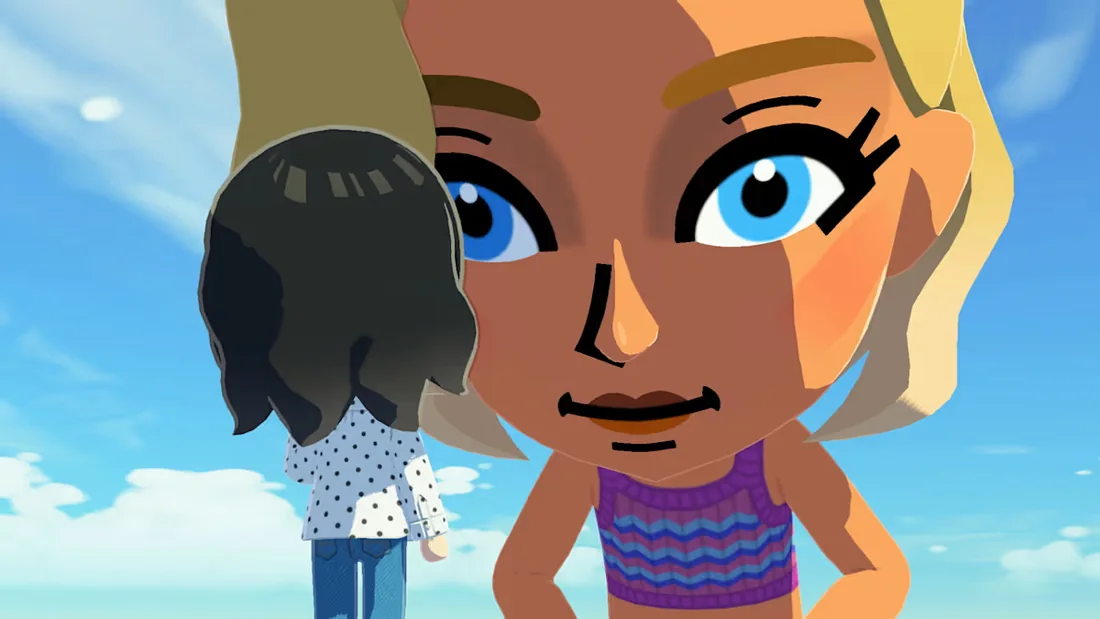
The same shirt can read differently on two Mii silhouettes. Compare the garment with the character's hair, face, and planned role, then decide whether the clothing should blend in or become the focal point. For broader character planning, use the site's Mii ideas guide; keep personality decisions independent from any unverified clothing mechanic.
What is still unverified about custom clothes
The official gallery confirms the existence of a clothing-design screen and shows some of its visible controls. It does not publish a complete clothes list, a total design count, a full unlock walkthrough, or a documented file-import method. This page therefore avoids a 'all clothes' claim and does not label a fan prompt as an in-game item.
Old Tomodachi Life 3DS guides may discuss StreetPass, QR codes, or regional item distribution. Do not transfer those rules to Living the Dream unless Nintendo documents the same feature for the current game. The site's QR guide explains that boundary; link to it when you are comparing generations, not as proof that clothes can be scanned or shared.
An image is evidence of what is visible
A screenshot can verify a canvas, preview, and labeled on-screen control. It cannot establish hidden unlock requirements, a maximum number of designs, or how an online service works. Those claims need a manual, support article, release note, or repeatable in-game observation tied to a version and region.
A design prompt is not a pattern download
The table gives themes, colors, and placement ideas in ordinary text. It contains no QR code, import file, or exact pixel map. Use it as creative direction, then draw within the controls your own game provides. If Nintendo publishes an export or sharing method later, update the guide against that primary source.
Official source and image credit
The game images on this page come from Nintendo's public Tomodachi Life: Living the Dream product gallery. They show real official product media. Design prompts and evaluation tips are fan-made editorial guidance, not Nintendo instructions.
Tomodachi Life custom clothes FAQ
How do I make custom clothes in Tomodachi Life?
Use the clothing editor shown in the official product gallery as a visual reference, then follow the controls displayed in your current game. As a design workflow, choose one garment idea, a limited palette, one focal motif, and preview it on a Mii before finishing. The public Nintendo page does not provide a full button-by-button manual.
Is this a complete Tomodachi Life clothes list?
No. This is a custom-clothes design guide with 12 fan-made prompts. We do not have a verified complete item database, so it should not be used as an all-clothes checklist.
Can I import or share custom clothes with a QR code?
The Nintendo product page and gallery used here do not document an import or QR clothing-share feature. Old 3DS QR or StreetPass instructions are not evidence that the same workflow works in Living the Dream.
How many custom outfits can I save?
No total is stated by the official source cited here. Check the current in-game prompts or a Nintendo support article for your region; this guide does not guess a number.
What makes a custom clothes pattern easy to read?
Use strong light-dark contrast, one main motif, even spacing for repeats, and open space around the focal detail. Judge it at Mii size, not only on an enlarged canvas.